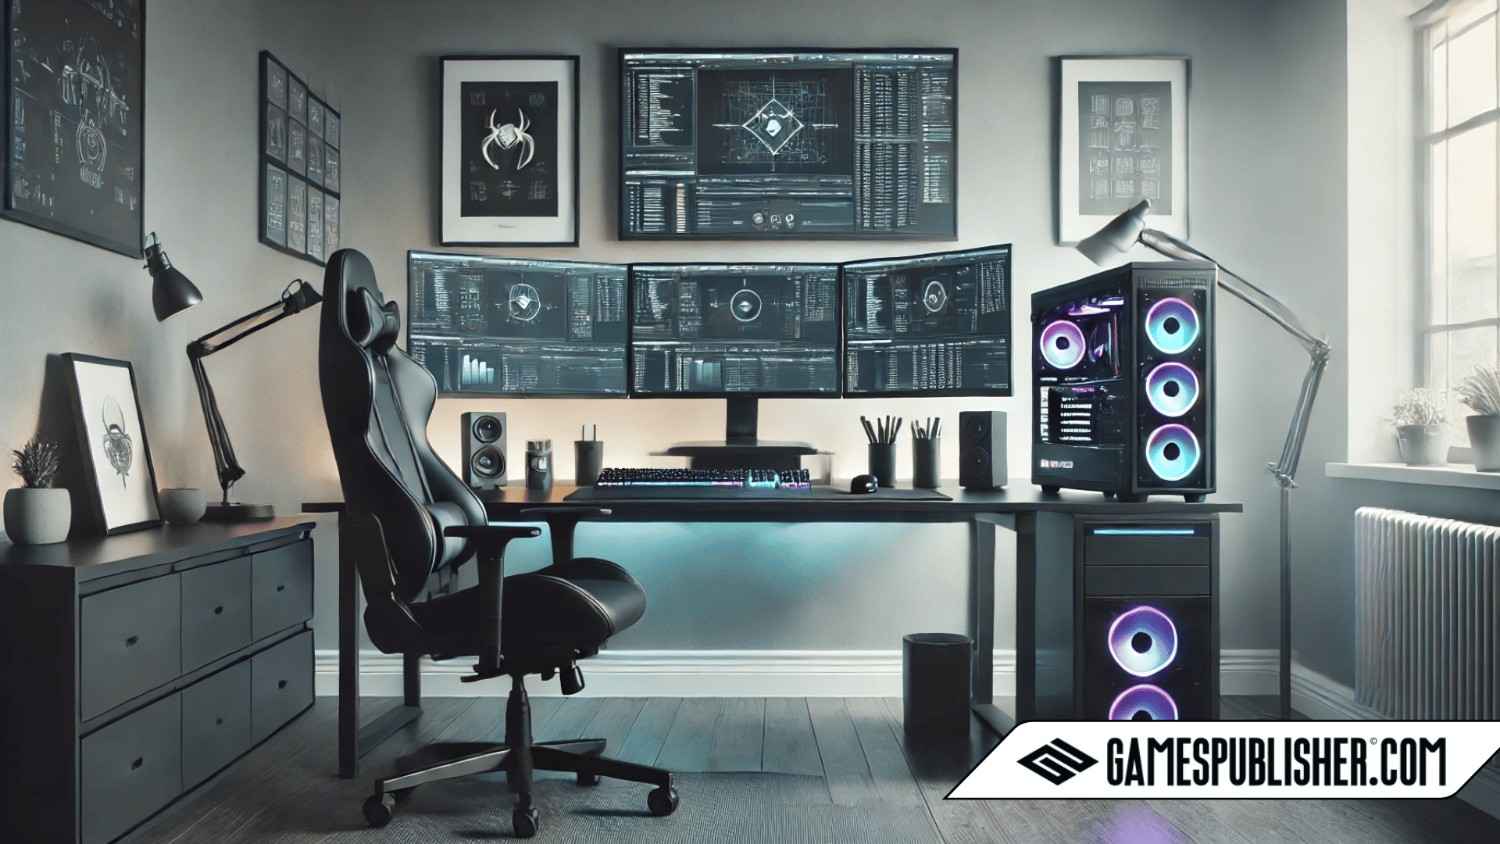
Welcome to Gamespublisher.com! Our goal is to provide valuable insights for aspiring game developers. One of the most important decisions you’ll make as a game developer is choosing the right PC setup. This isn’t just about getting a machine that turns on it’s about having a computer that can handle the complex tasks involved in game creation.
Picking the right hardware will significantly impact the success of your game projects. The more demanding your projects, the better your system needs to be. So, how do PC specs influence different stages of game development? From writing code and creating 3D models to testing and rendering, every part of your computer has an important job to do.
In this guide, we’ll show you how to pick the best PC setup for game development with easy tips. Whether you want to create simple 2D games or aim for advanced 3D ones, the right configuration can save you time and headaches.
Why Hardware Matters in Game Development
Your hardware affects how smoothly you can create, test, and improve your game. Game development includes many activities like programming, creating art assets, and running tests. Each of these tasks needs a powerful computer to run efficiently.
Processing Power and Performance
A strong CPU (Central Processing Unit) is crucial. Game engines like Unity or Unreal rely heavily on the CPU to process data and run simulations. If your CPU is too slow, you will experience lag and delays. This makes it harder to complete your project on time.
Multithreading Capabilities
Modern CPUs with multithreading features can handle multiple tasks at the same time. This is helpful when you are running many processes together, like compiling code, rendering graphics, and running simulations. It ensures that your computer can do more without slowing down.
Minimum vs. Recommended PC setup Requirements
Understanding the difference between minimum and recommended PC specifications is essential, especially for beginners.
Understanding Minimum Requirements
Minimum PC requirements mean the lowest specs needed to run the software. However, these specs may result in slow performance. For example, with only 8GB of RAM and a low-end CPU, you can open Unity, but the experience might be slow and frustrating.
Minimum System Requirements for Popular Game Engines:
- Unity: Intel Core i3, 8GB RAM, Intel HD Graphics 4000, and 15GB storage.
- Unreal Engine: Intel Core i5, 8GB RAM, NVIDIA GTX 770, and 20GB storage.
Recommended Requirements for Better Performance
Recommended specs are what you should aim for to have a smooth workflow, especially if you are creating complex games. It’s always best to choose components that go beyond the minimum. This ensures that your computer can handle heavy tasks like 3D rendering and advanced simulations.
Recommended Specifications:
- CPU: Intel Core i7 or AMD Ryzen 7.
- GPU: NVIDIA RTX 3060 or better.
- RAM: 16GB (preferably 32GB for 3D work).
- Storage: 500GB SSD (with a secondary 1TB HDD for project storage).
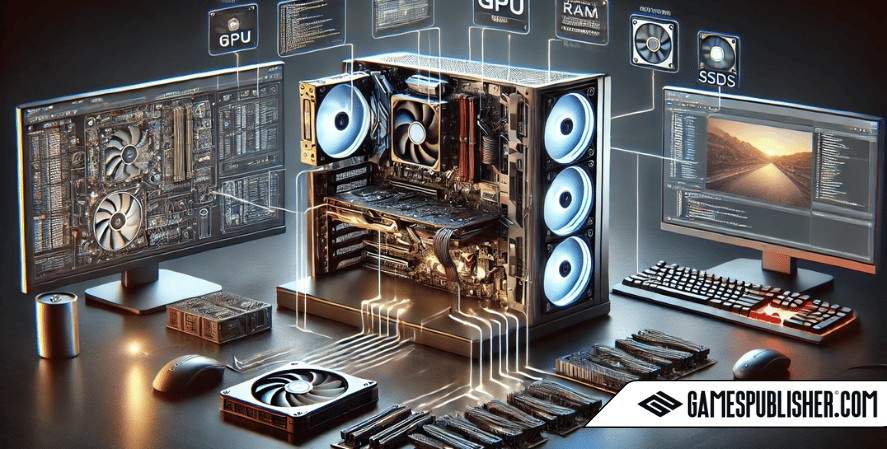
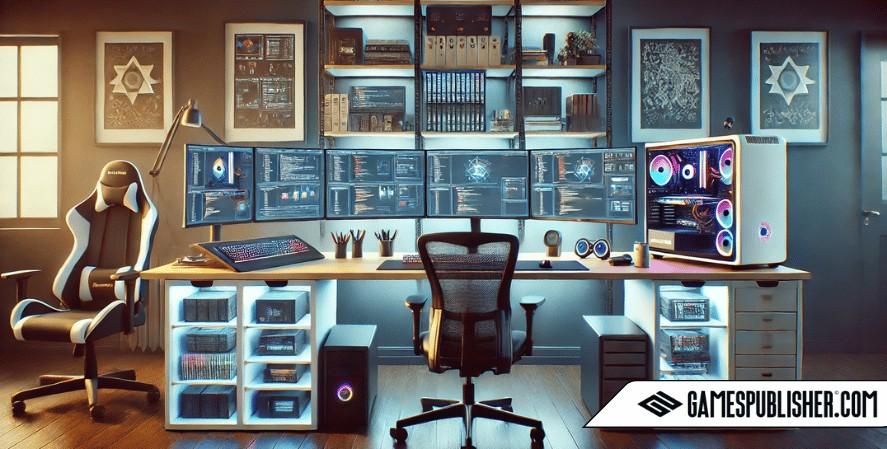
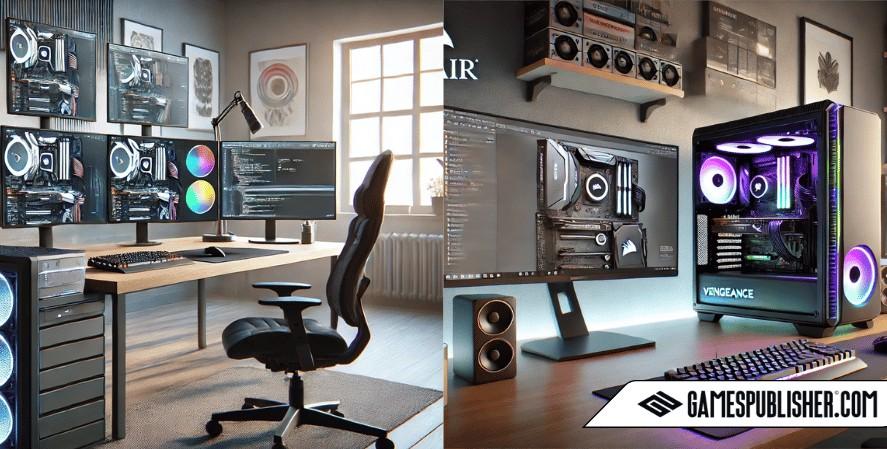
Essential Hardware Components for Game pc setup Development
Choosing the right hardware can feel overwhelming. Let’s break it down so you know what each part does and why it matters.
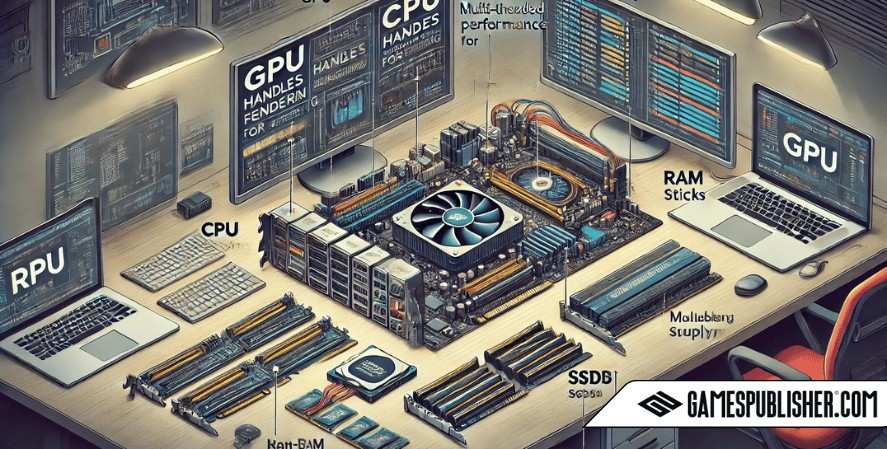
Processor (CPU)
Your CPU is the brain of your computer. It handles many game development tasks, such as running simulations, compiling code, and testing games.
- For beginners, good processors are:
- Intel: Core i5-13600K or i7-13700K.
- AMD: Ryzen 5 7600X or Ryzen 7 7700X.
- These CPUs offer a balance of speed and power, making them suitable for various tasks.
Graphics Card (GPU)
Your GPU is mainly used for rendering graphics, especially in 3D environments. If you plan to create 3D games or work in virtual reality (VR), a good GPU is a must.
- Recommendation for Beginners: NVIDIA RTX 3060 or AMD RX 6700 XT.
- Advanced Users: RTX 4070 or higher.
RAM
RAM is your computer’s short-term memory. The more RAM you have, the more data your system can handle at once. This is critical for large game projects.
- Baseline: 16GB RAM.
- Recommended: 32GB if you are working with 3D models or multitasking with heavy programs.
Storage
Solid State Drives (SSDs) provide faster performance compared to traditional Hard Disk Drives (HDDs). This means your files will load quicker, and your projects will run smoother.
- Minimum Storage: 500GB SSD.
- Additional Storage: A secondary 1TB HDD for large project files.
Monitor
A high-resolution monitor (1440p or 4K) will help you see details clearly when working with game assets or coding. For best results, use a dual-monitor setup. This will allow you to code on one screen and test or debug on the other.
Additional Considerations for Game Development Workstations
Cooling System
Game development can push your hardware to its limits. Having a good cooling system will keep your PC from overheating, especially when rendering or compiling.
Power Supply Unit (PSU)
Choose a reliable PSU that can support your CPU, GPU, and other components. A 650W PSU with 80 Plus certification is a good starting point.
Peripherals for pc setup
You’ll spend many hours at your workstation, so invest in a good keyboard, mouse, and an ergonomic chair. These will make long sessions more comfortable.
Software Optimization and Compatibility
Operating System (OS)
Choosing the right OS is essential. Windows is popular among game developers because it supports most development tools. Linux and macOS are also good but might lack support for some game engines.
Development Tools Compatibility
Popular game development tools include:
- Unity: Great for 2D and 3D games. It works well on mid-range PCs but benefits from a strong CPU.
- Unreal Engine: Known for high-quality graphics. It requires a powerful GPU and plenty of RAM.
- Blender: Used for 3D modeling. Needs a good GPU and high RAM.
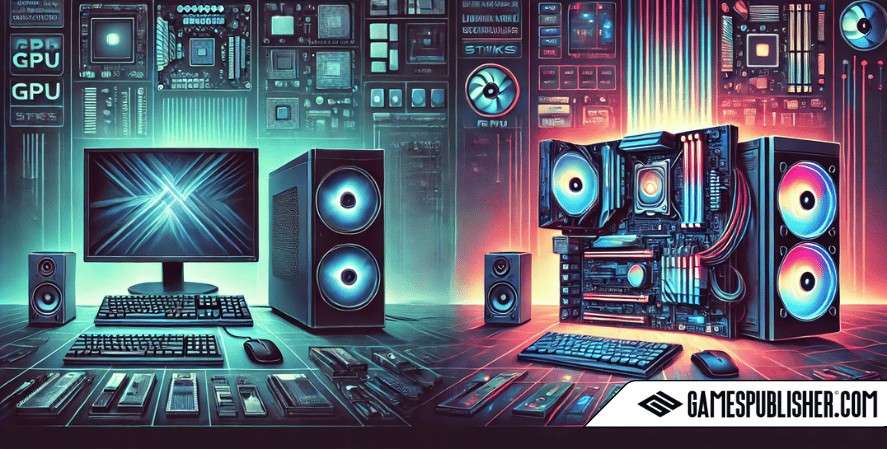
Building a PC Setup vs. Buying a Pre-Built Workstation
Custom-Build PC
Building your own PC gives you control over each component. It’s often cheaper, and you can upgrade parts over time. For beginners, choosing the right parts might feel confusing, but it’s a good way to learn about your machine.
Pre-Built Workstation
Buying a pre-built PC is a good option if you don’t want to deal with the hassle of building your own. Most pre-built systems are tested and come with warranties, making them safer for beginners.
Trusted Pre-Built Brands:
Conclusion
Choosing the right hardware for game development is a crucial investment. Aim for a setup that not only meets but exceeds the minimum requirements. This will future-proof your machine and make sure your projects run smoothly.
For more tips and in-depth guides, visit Gamespublisher.com. Happy game developing!
Loading survey...